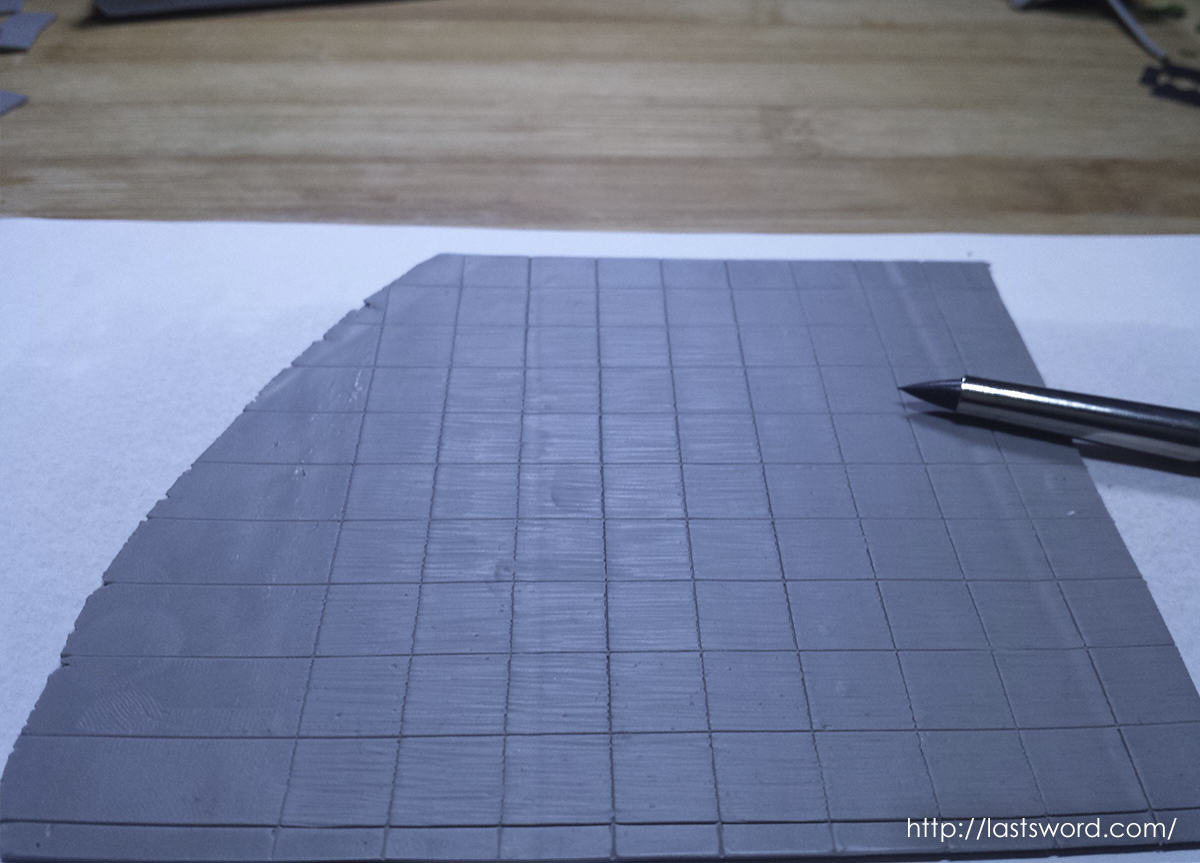
We have been working on a ruined house for Warhammer Fantasy, Mordheim (Empire in flames) and 1650 A capa y espada. We have done the stone walls. A tile floor was the next step.
“It is not very prudent being building a house from the roof…“
For one time we paied attention to the proverb. In the article “Scenery. Ruined house I” we did stone walls. Now we decided to work on tile floor before the roof! It will help to us to decided ruined house size.
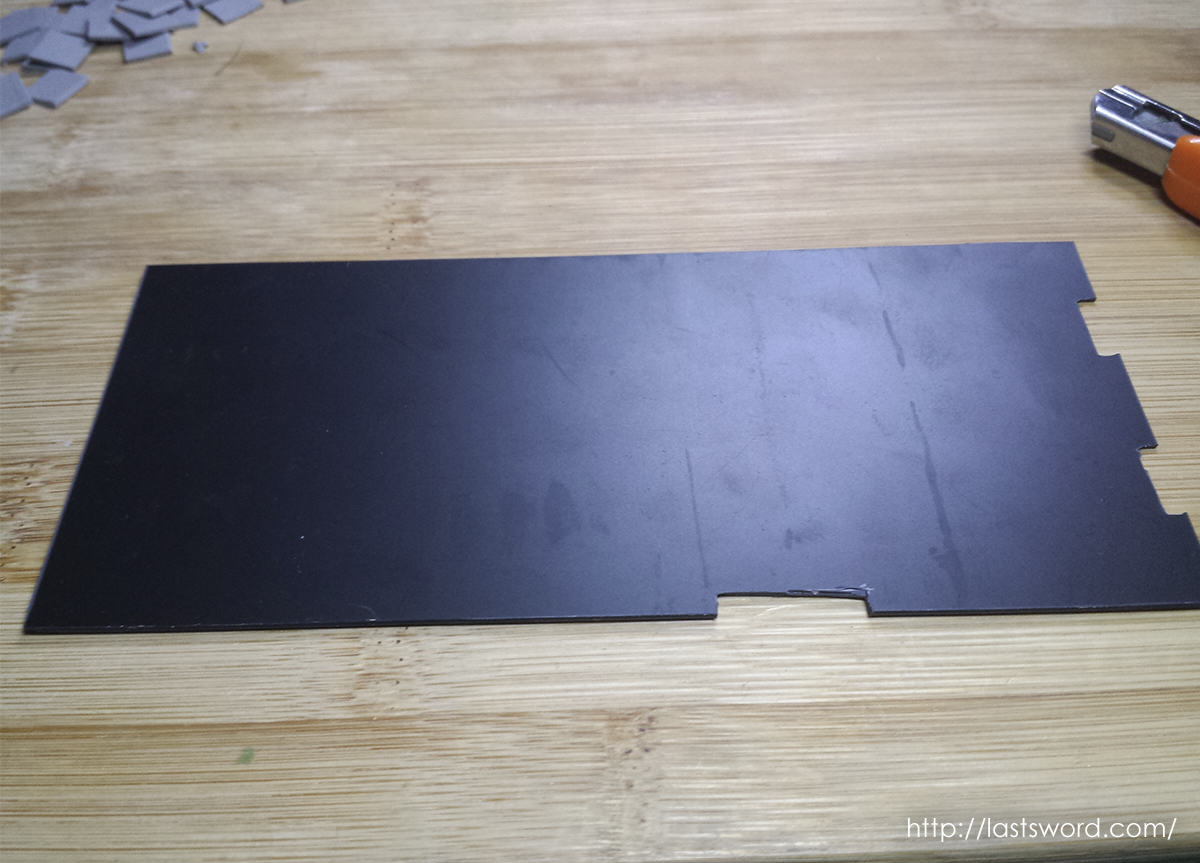
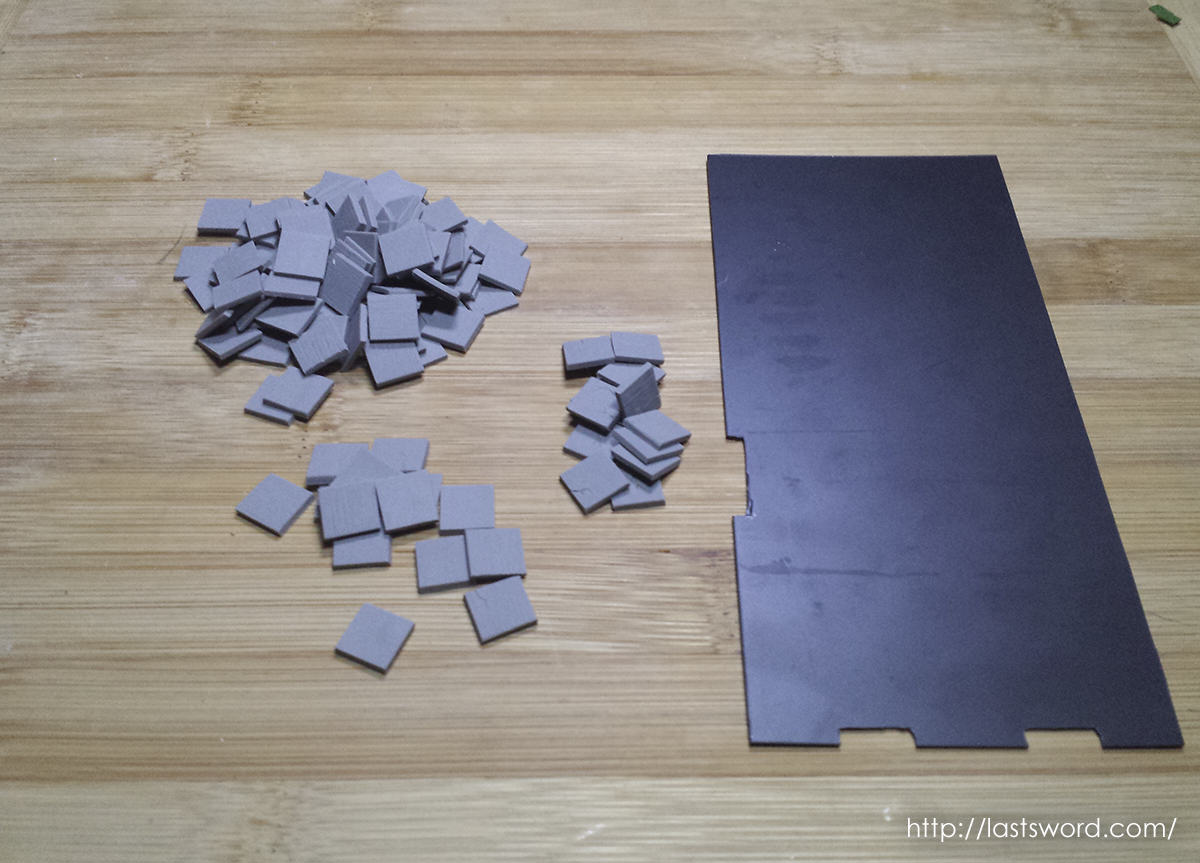
We used the same tools and material that we used to do the stone walls. Besides we used 1mm plasticard. Tile floor will meseure 15x7cm. Over it tiles of 1x1cm covering all the floor.
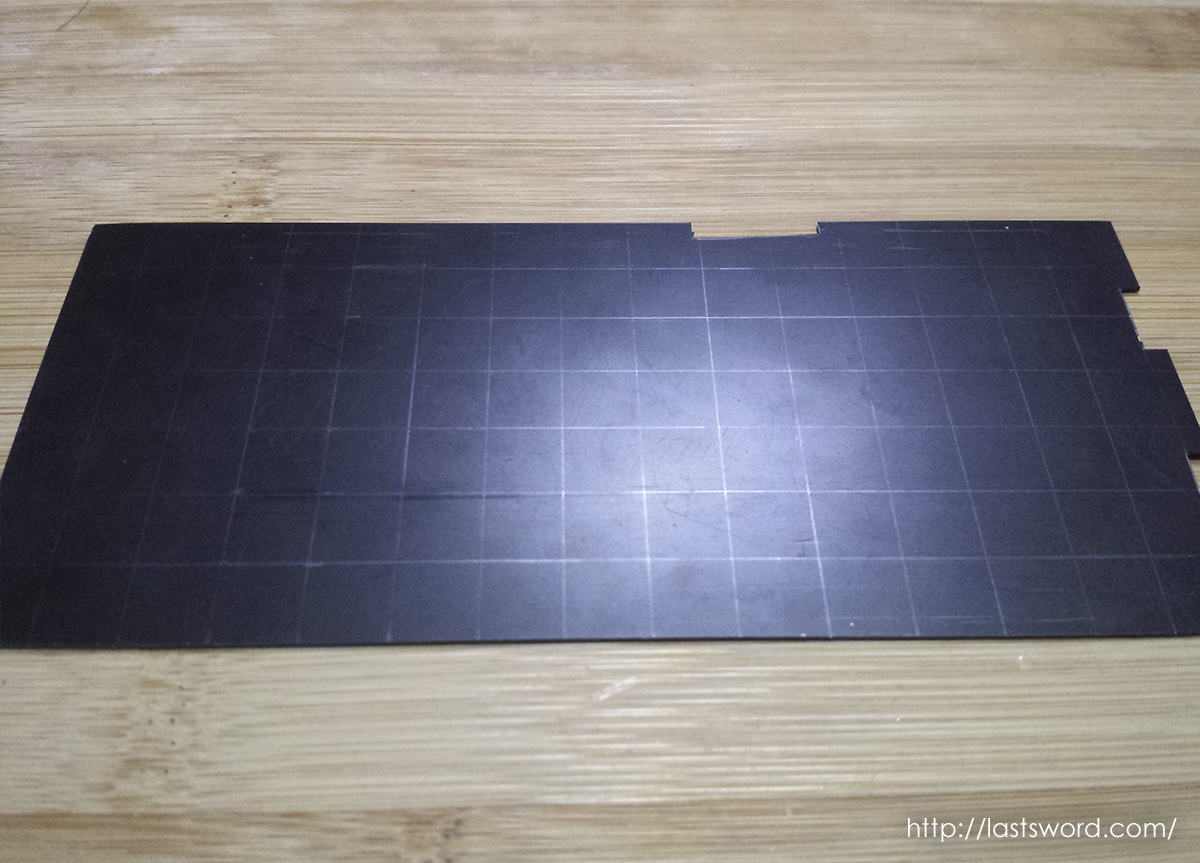
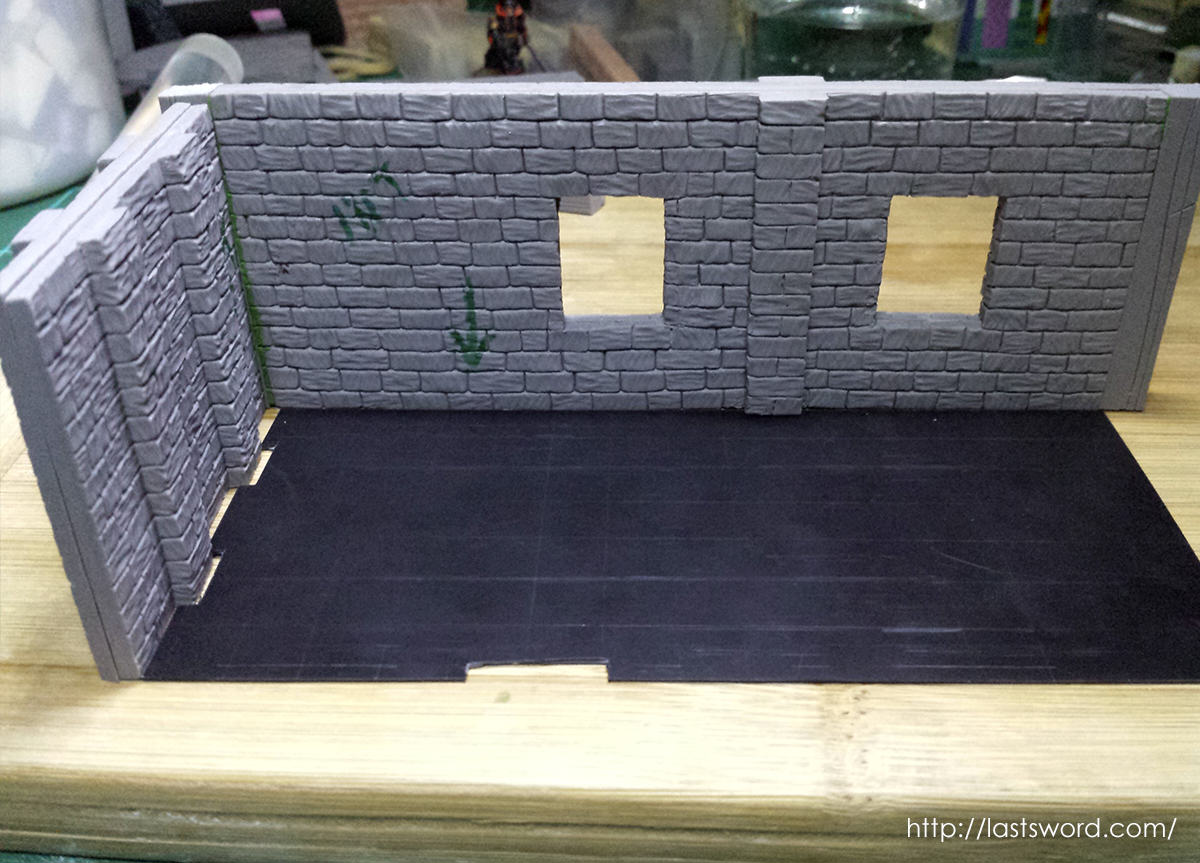
First we cut plasticard. We will place the piece next to and no under the stone walls, so we cut pillar shapes. With a pencil, we drew on the plasticar all stone pieces. Finally we checked that plasticard piece and stone walls fit together.
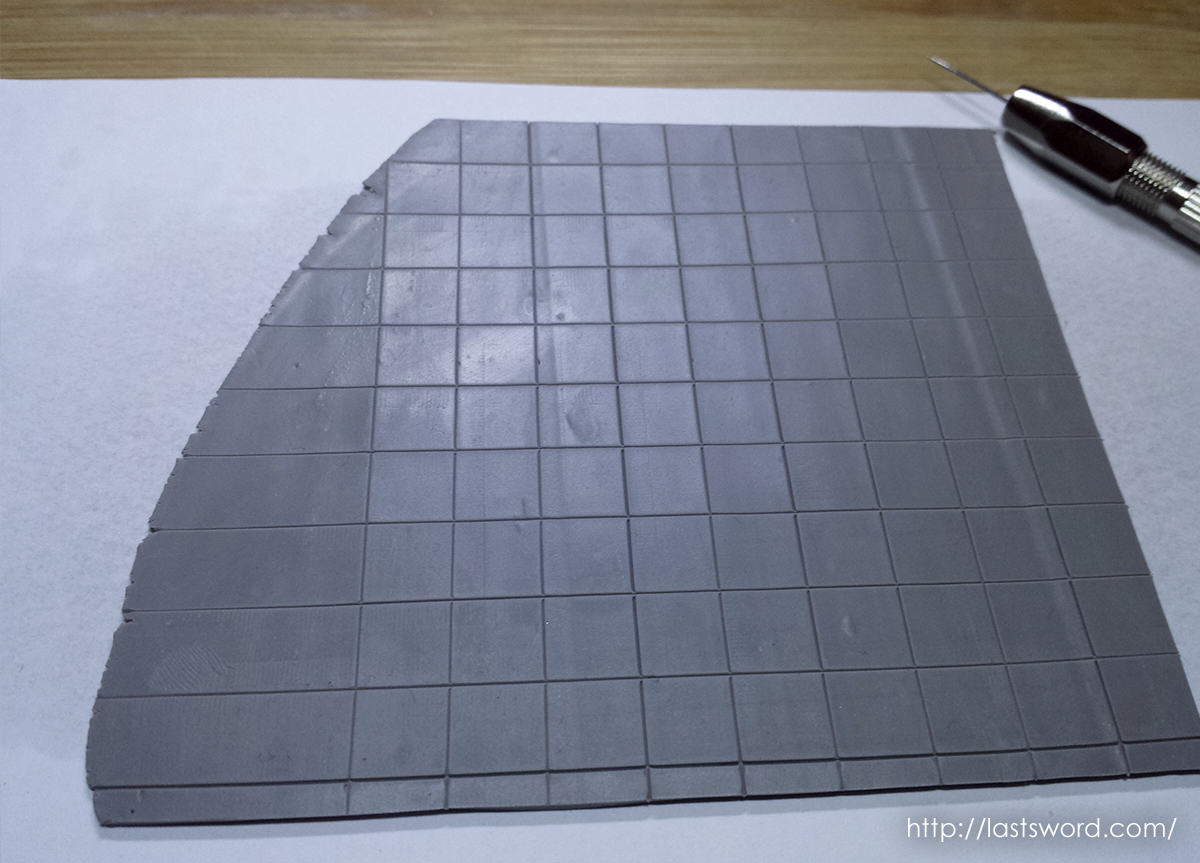
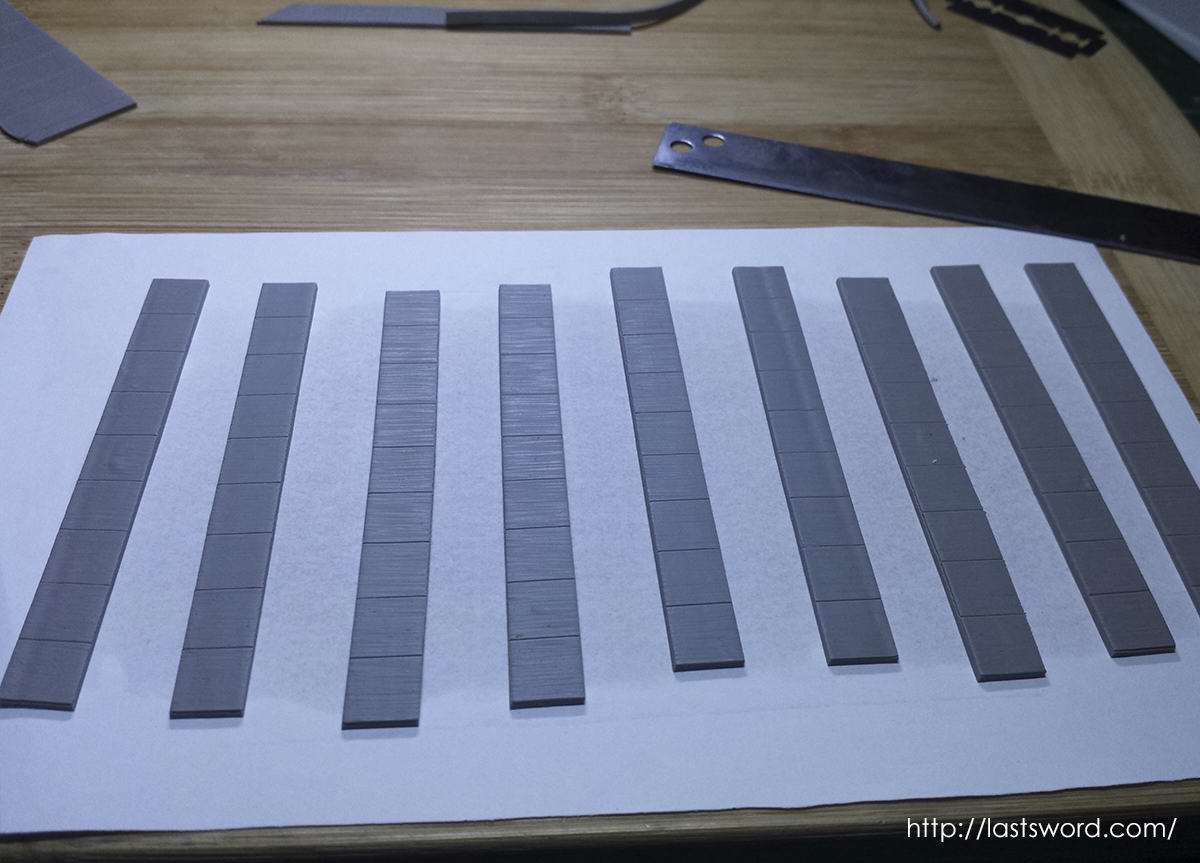
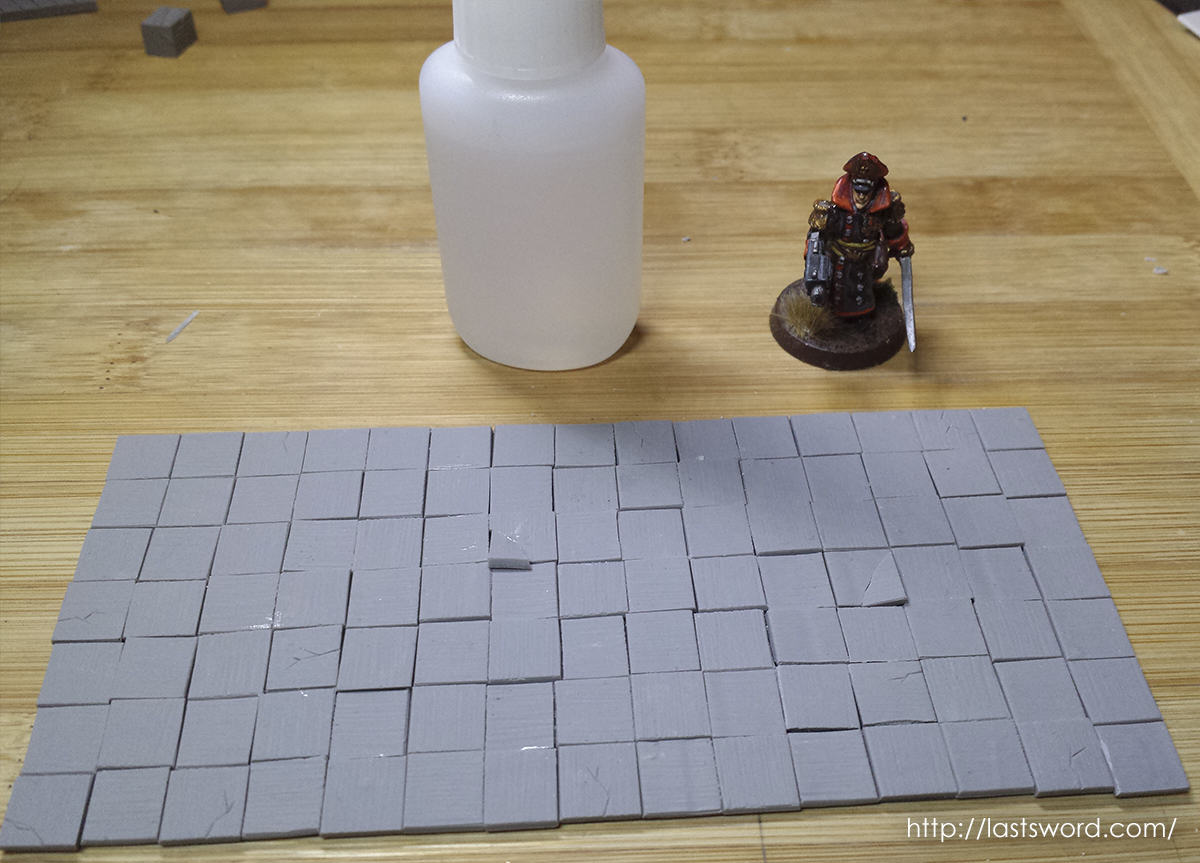
We used Super Sculpey Firm to do tiles. We will cover all the floor in our ruined house for Warhammer Fantasy, so we going to need alots of it! We drew each piece on the clay and before bake we used a clay shaper to texture.
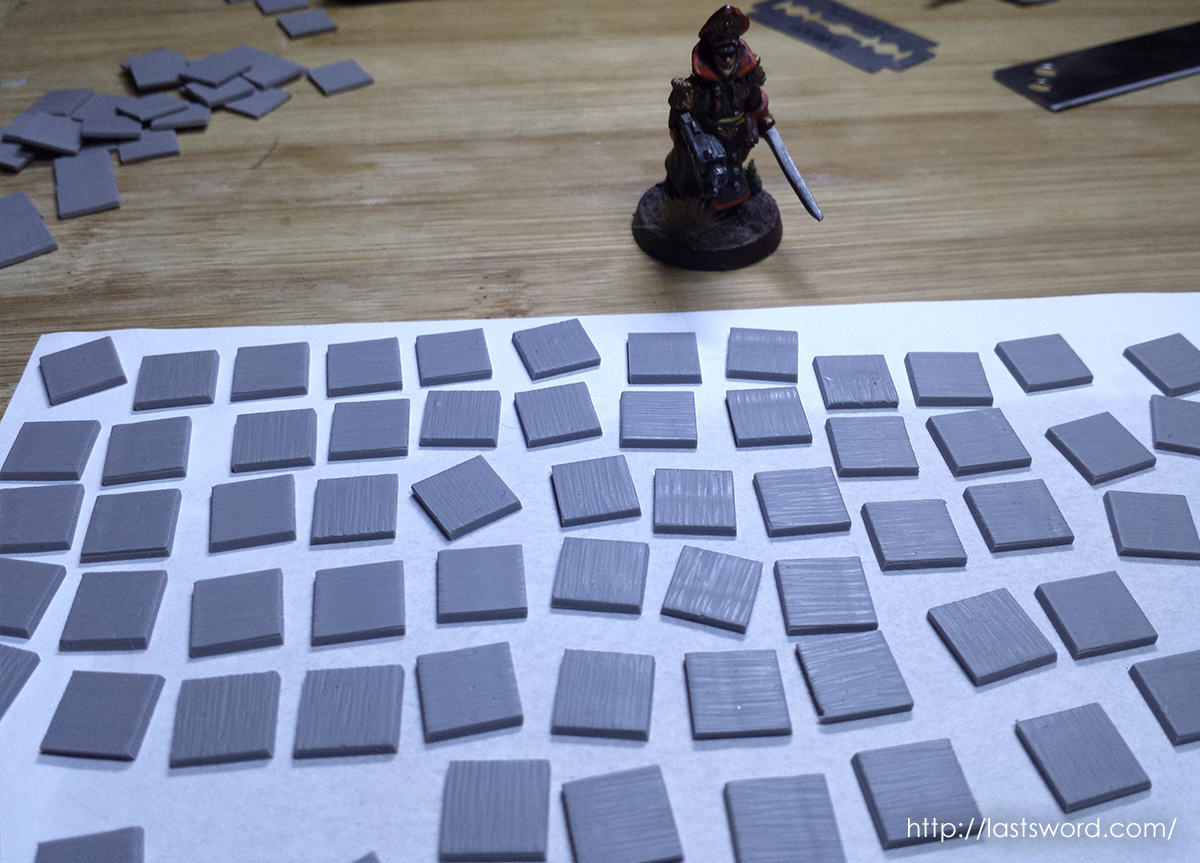
We cut all tiles. It was no very difficult, but a hard work. Sam was watching us!
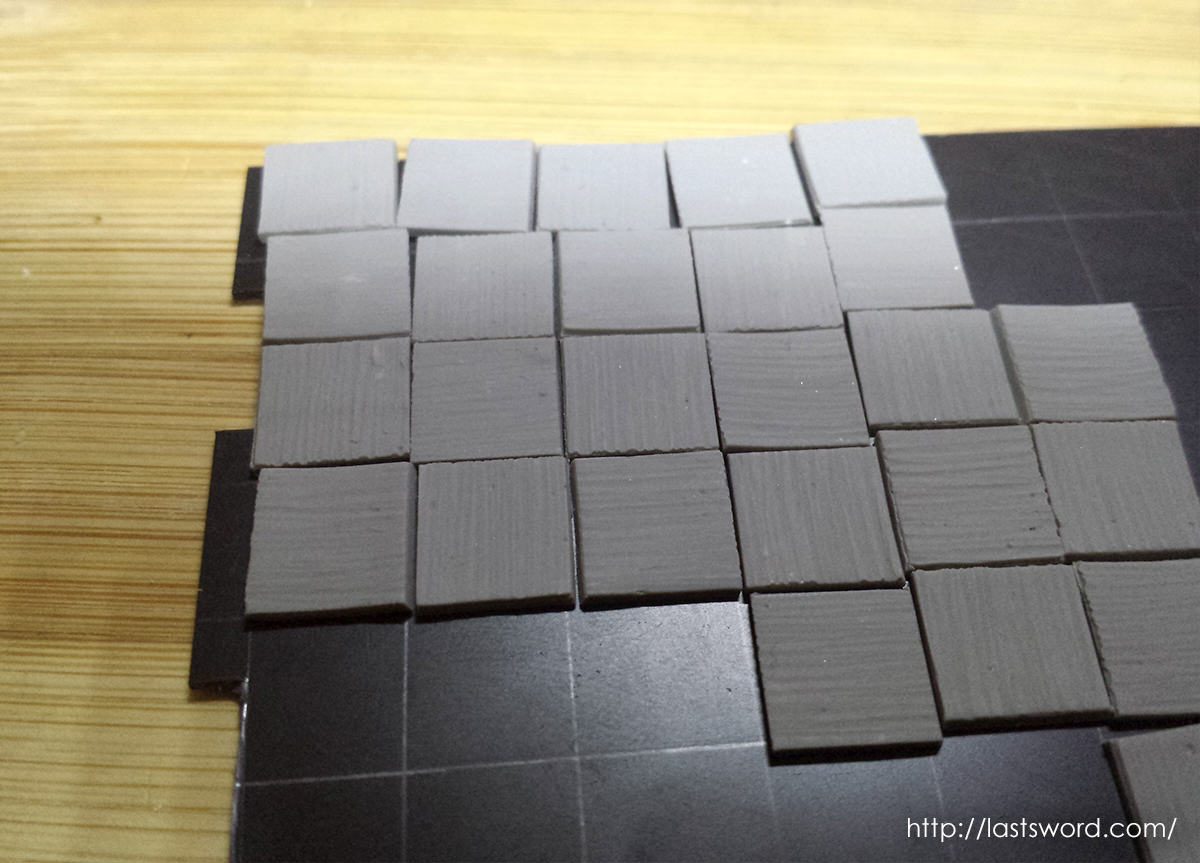
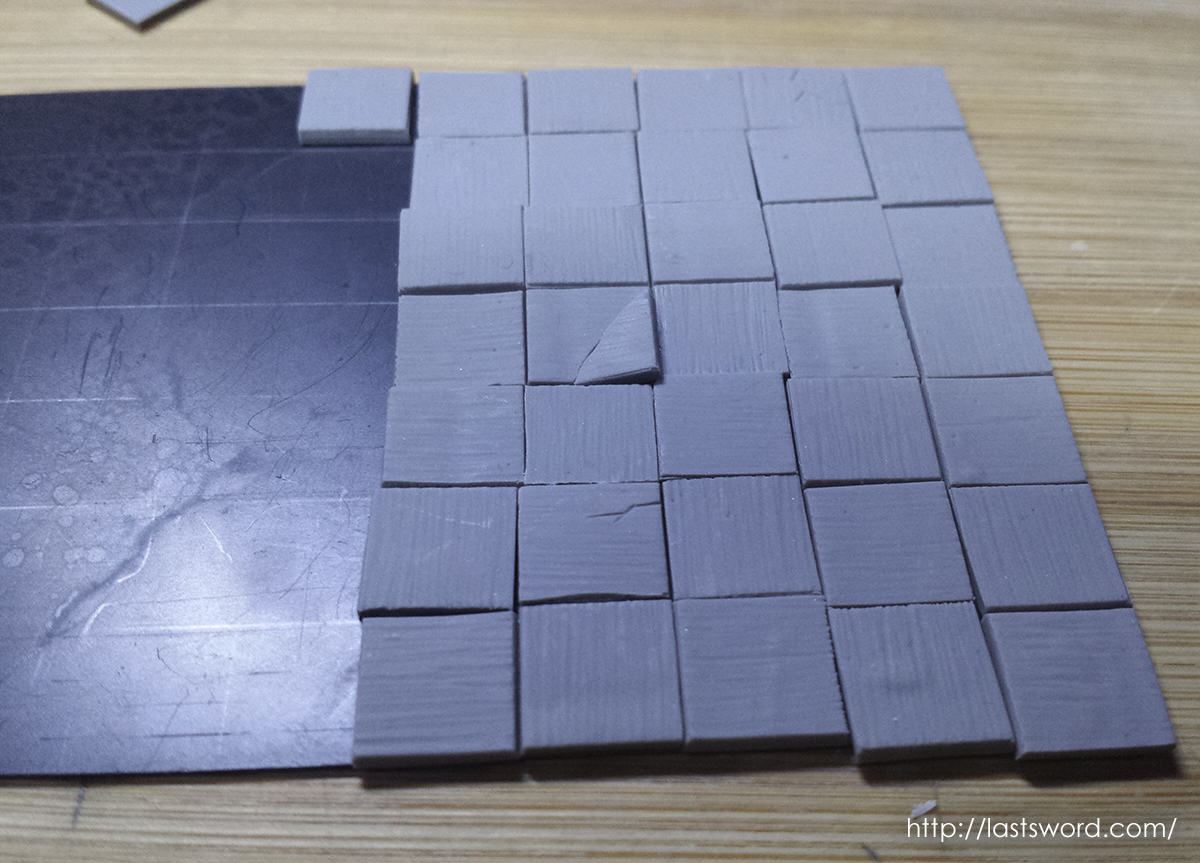
With tiles on a side and the platicard in the other, we put all together inside a mixer, added glue and pushed on. We couldn´t use the mixer, so we took each tiles and glued on the plasticard piece.
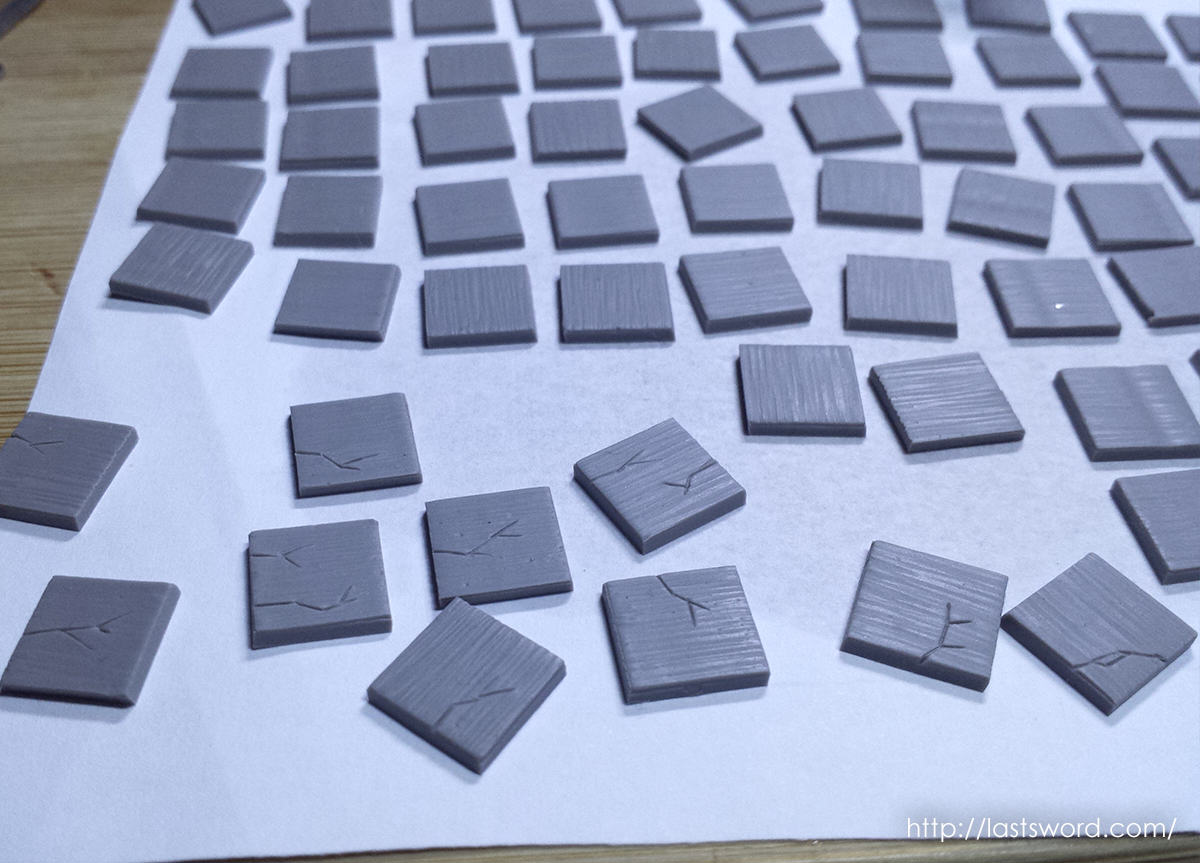
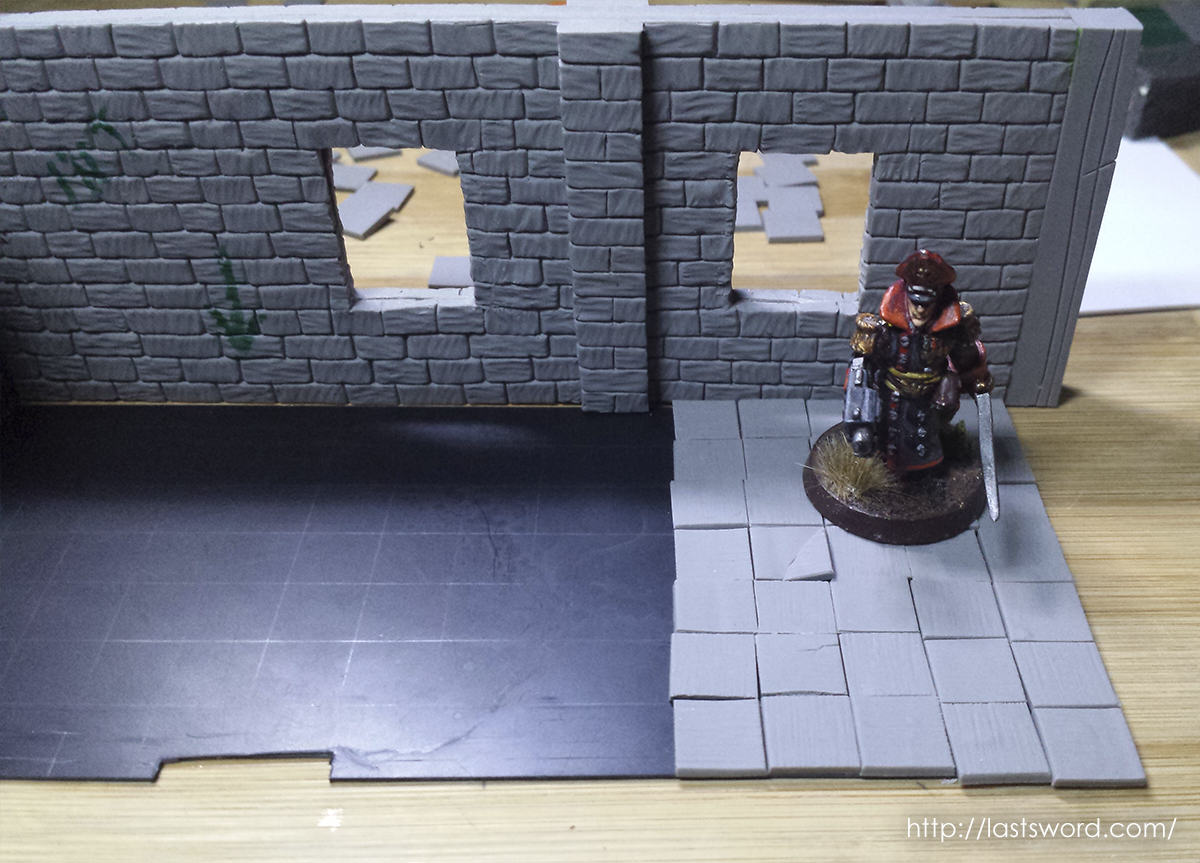
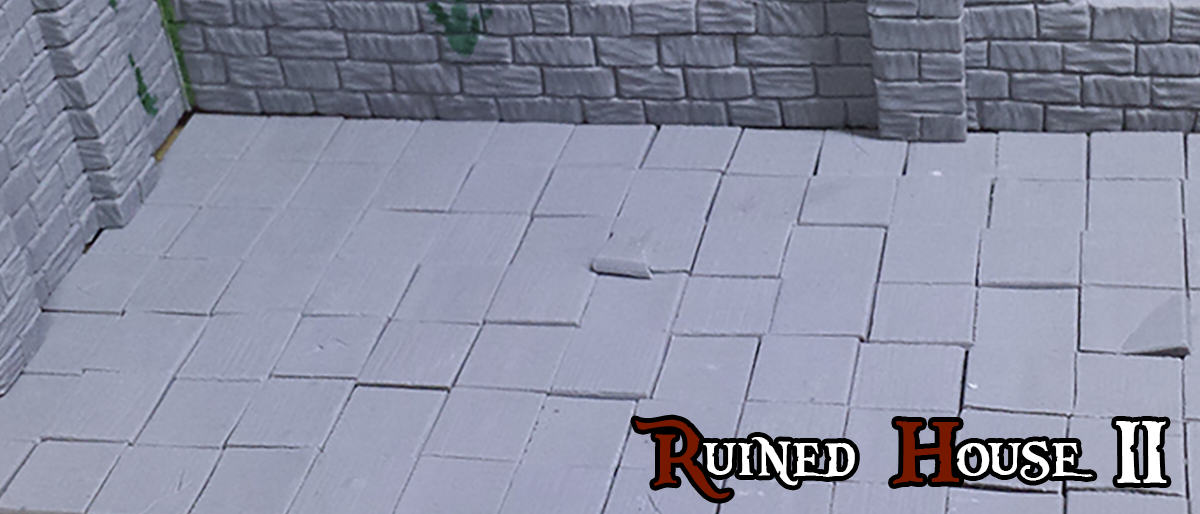
We checked that both pieces fit a lots time. We will do a proper ruined house for Warhammer Fantasy. At the end we finished. With some broken tiles our floor was ready. It looks like a Mordheim house!
We cut pillar shape in the tiles and put all together. Looks good!
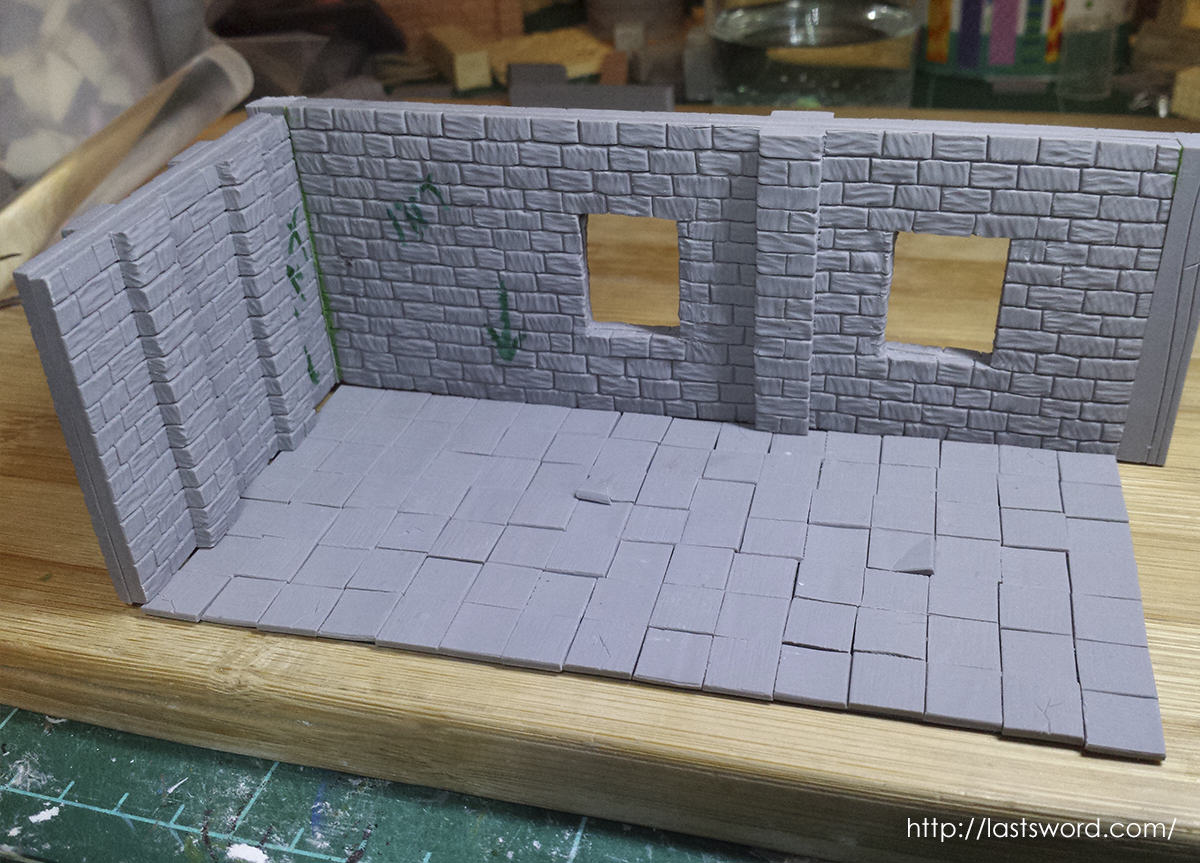
It wasn´t a hard job. but glue again and again was boring.
What do you think about first steps of our ruined house for Warhammer fantasy?
