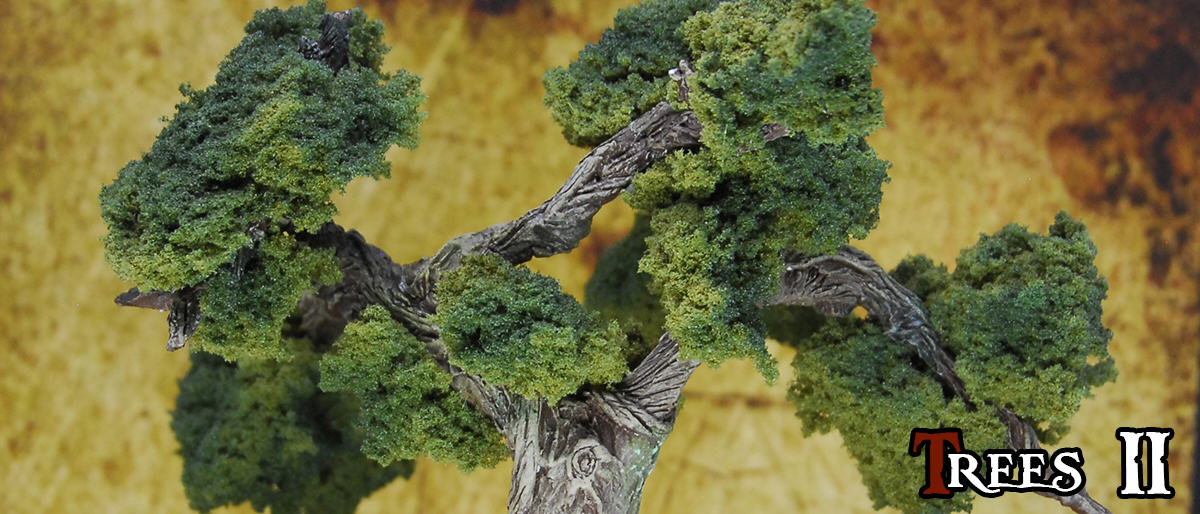
We continue to sculpt with a tree for Warhammer Fantasy, Mordheim (Empire in flames) and 1650 A capa y espada.
Before to star we would like to thank you al comments that you write about our trees. Thank you so much!
Trees spring little by little.
For us, scult a tree have four steps:
1 Trunk.
2 Branches.
3 Roots and base.
4 Bulges and details.
And afther that, paint!
In the last entry “Sculpting a wood I” we did the trunk and brunches. Now we going to finish.
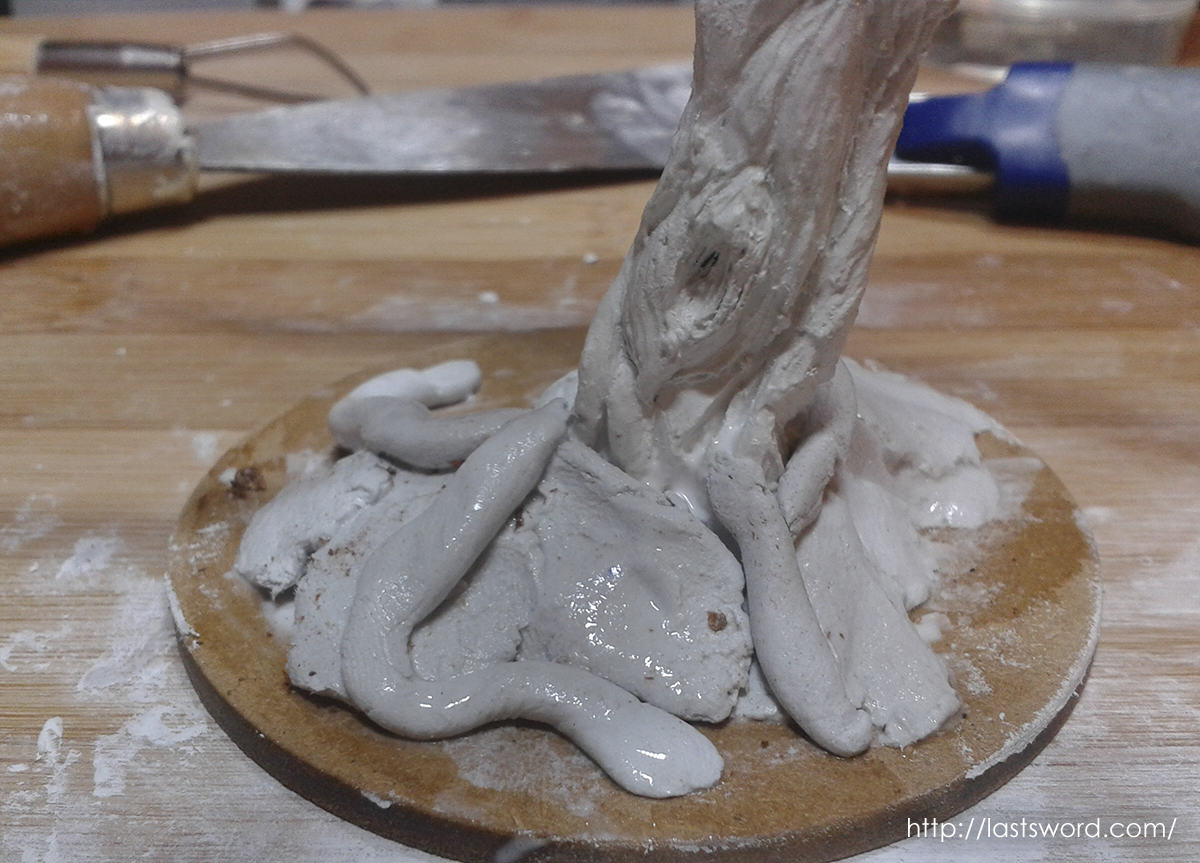
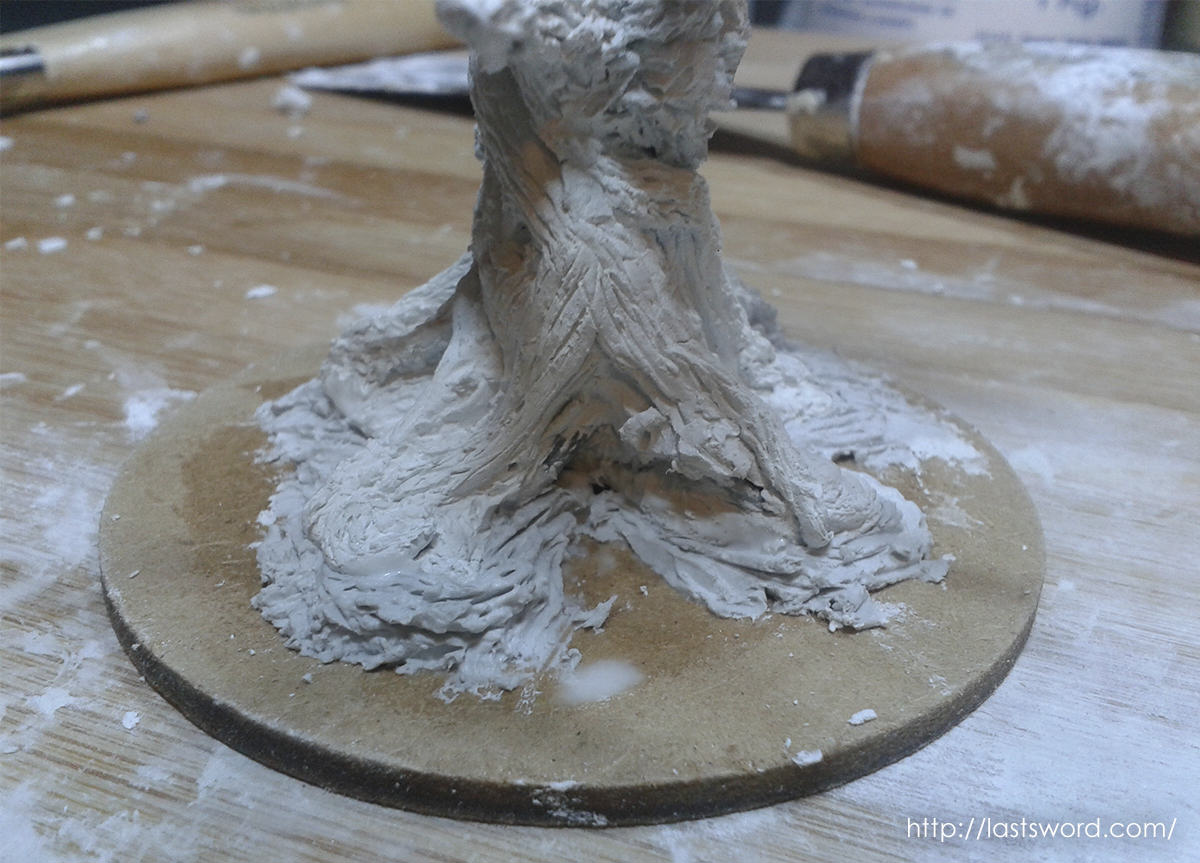
3. Roots and base.
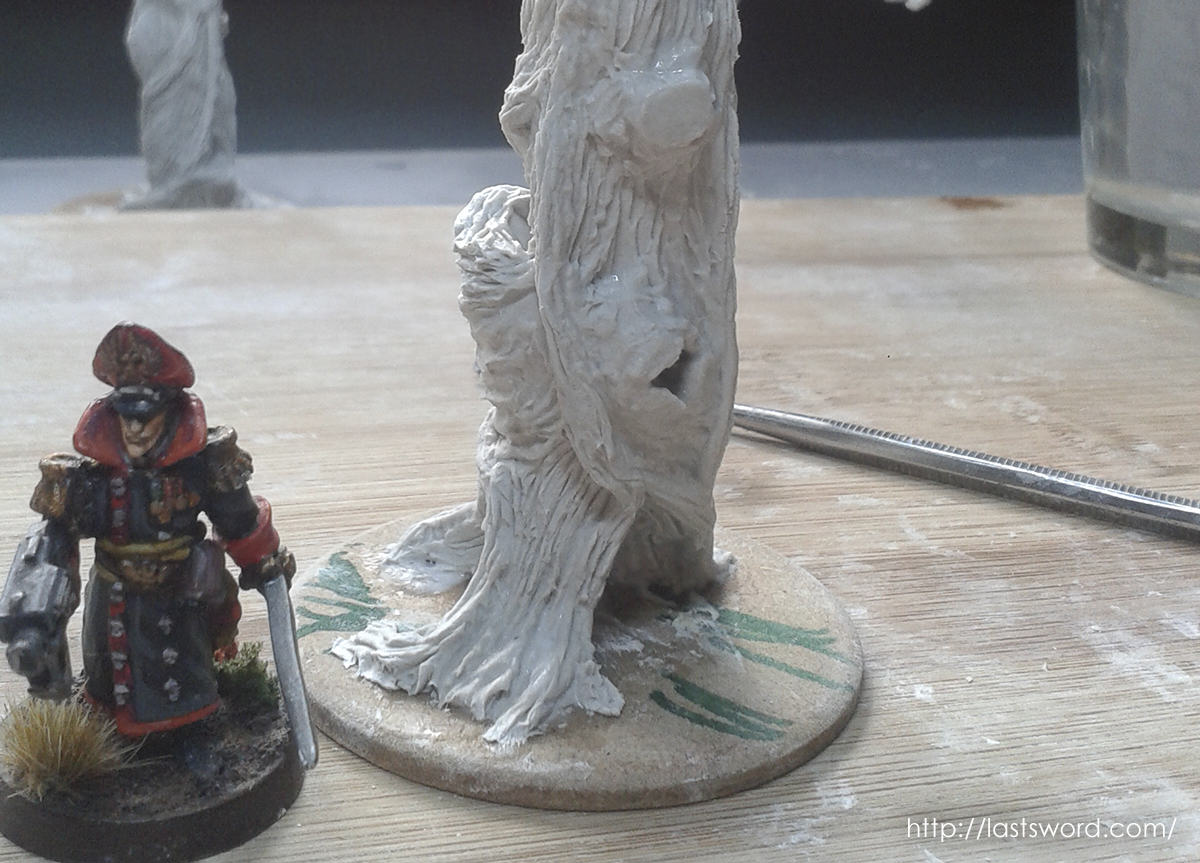
At the beginning we tried to sculpt roots without a base, but we realised that it was a bad a idea, so finally we add a wooden base of 3dm in width and 5.4mm in diameter. We glue all with white glue before to start to be inventive!
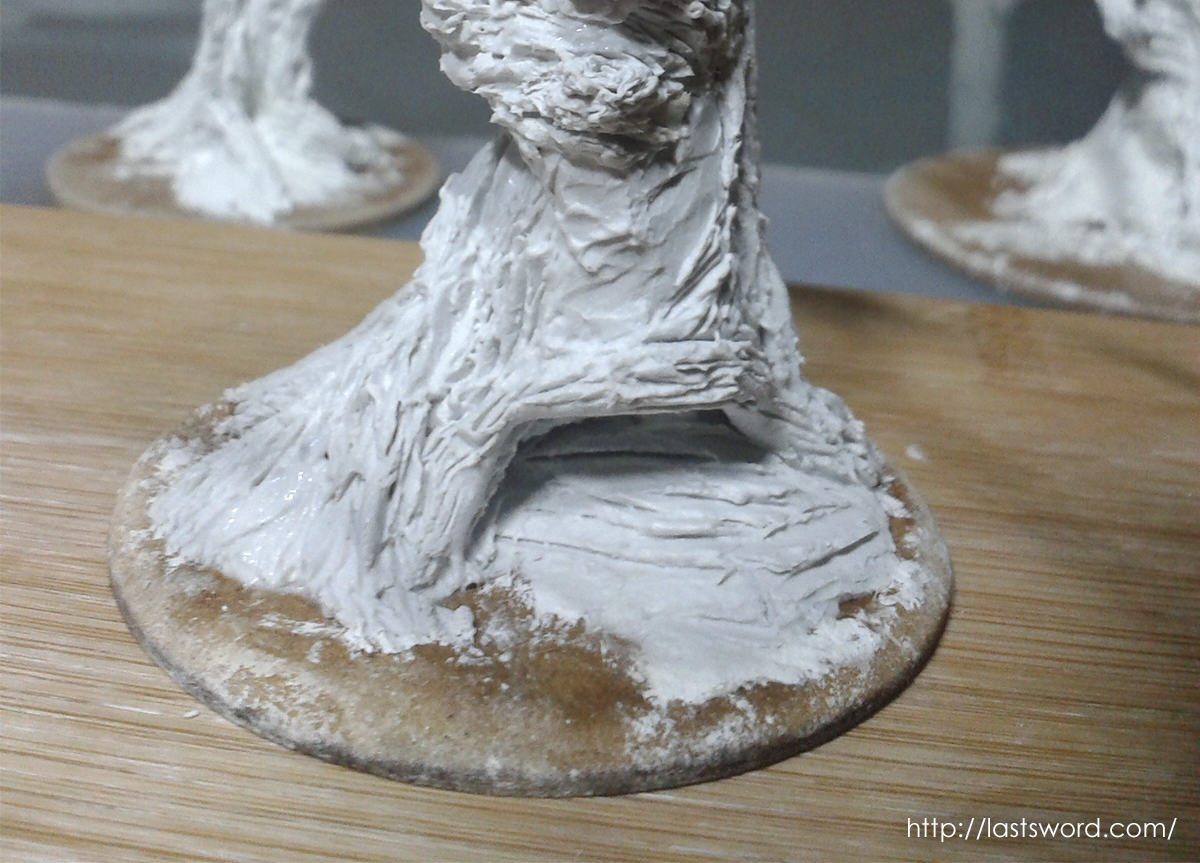
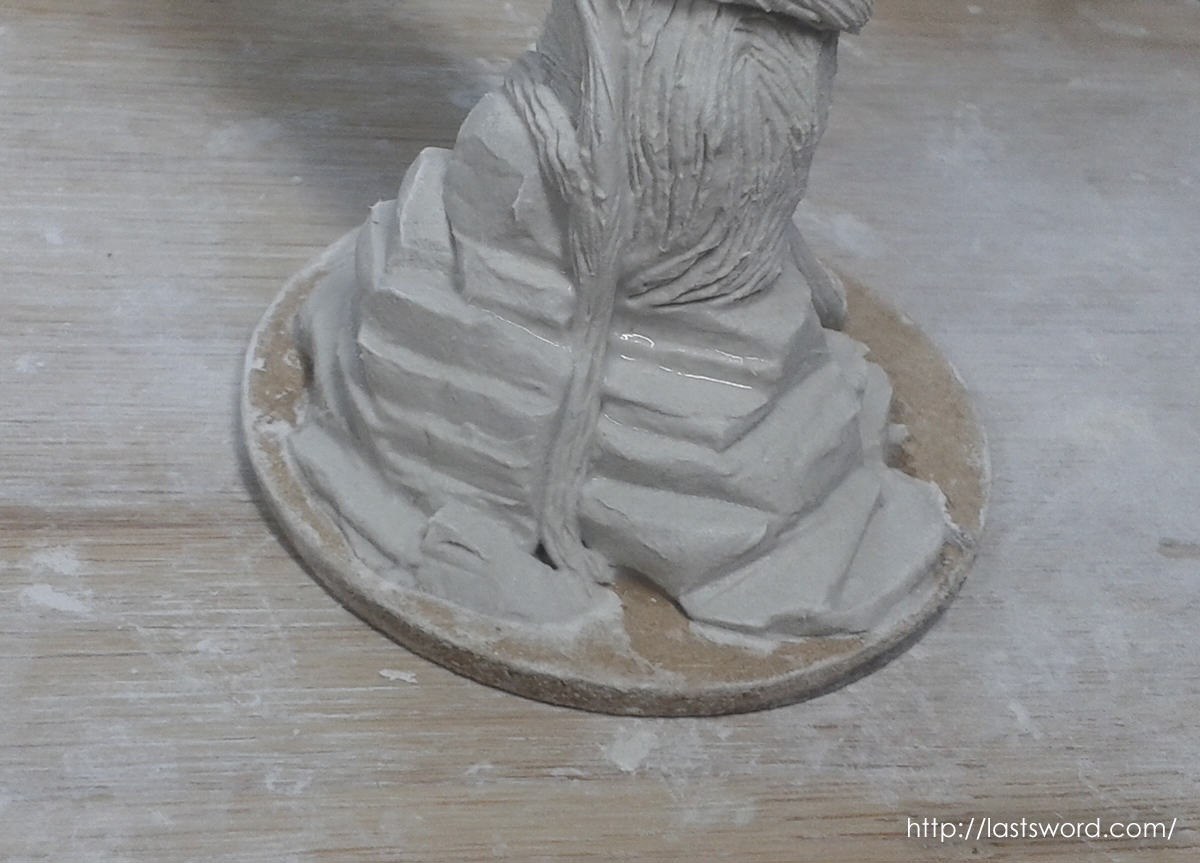
We form some holes between the roots and try to puts alots of them. Finally we add some stones.
4.Bulges an details.
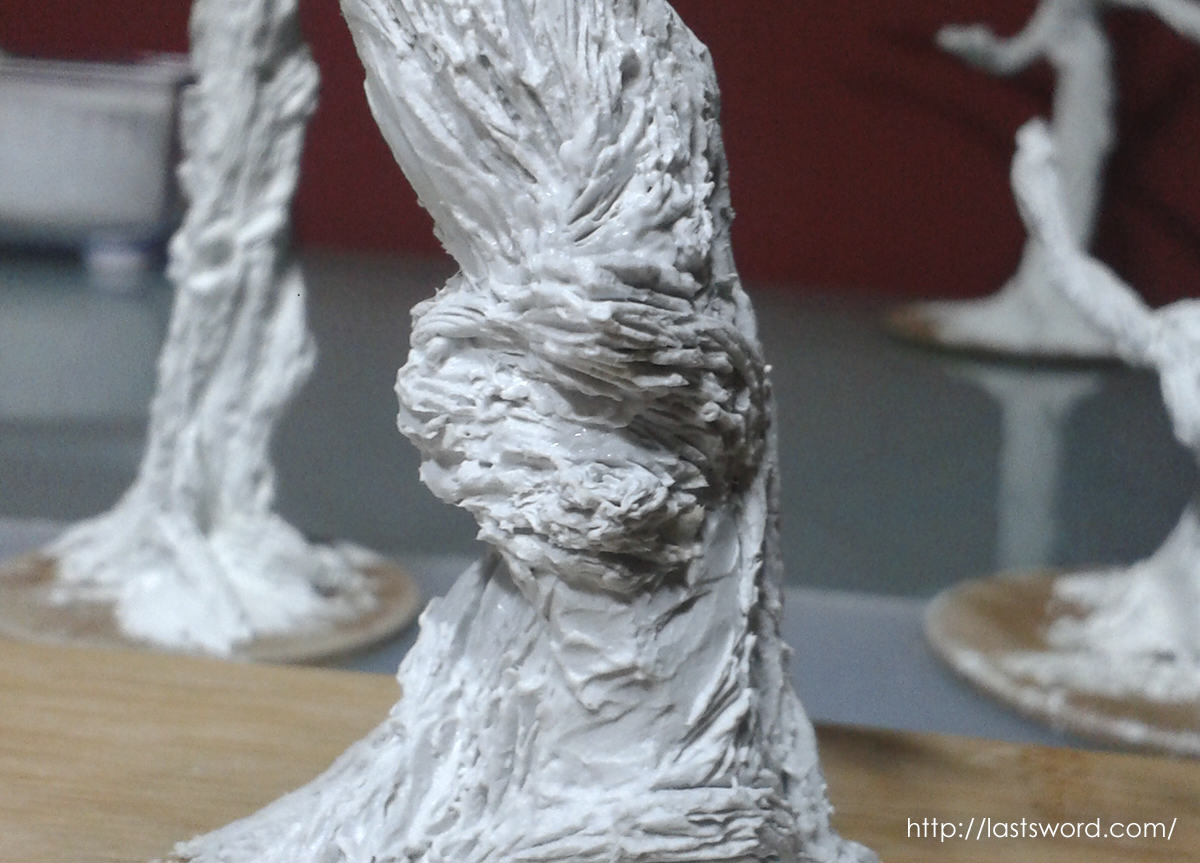
This kind of adds help to us to “break” tree regular form, become each tree unique.
Small details provide more realism.
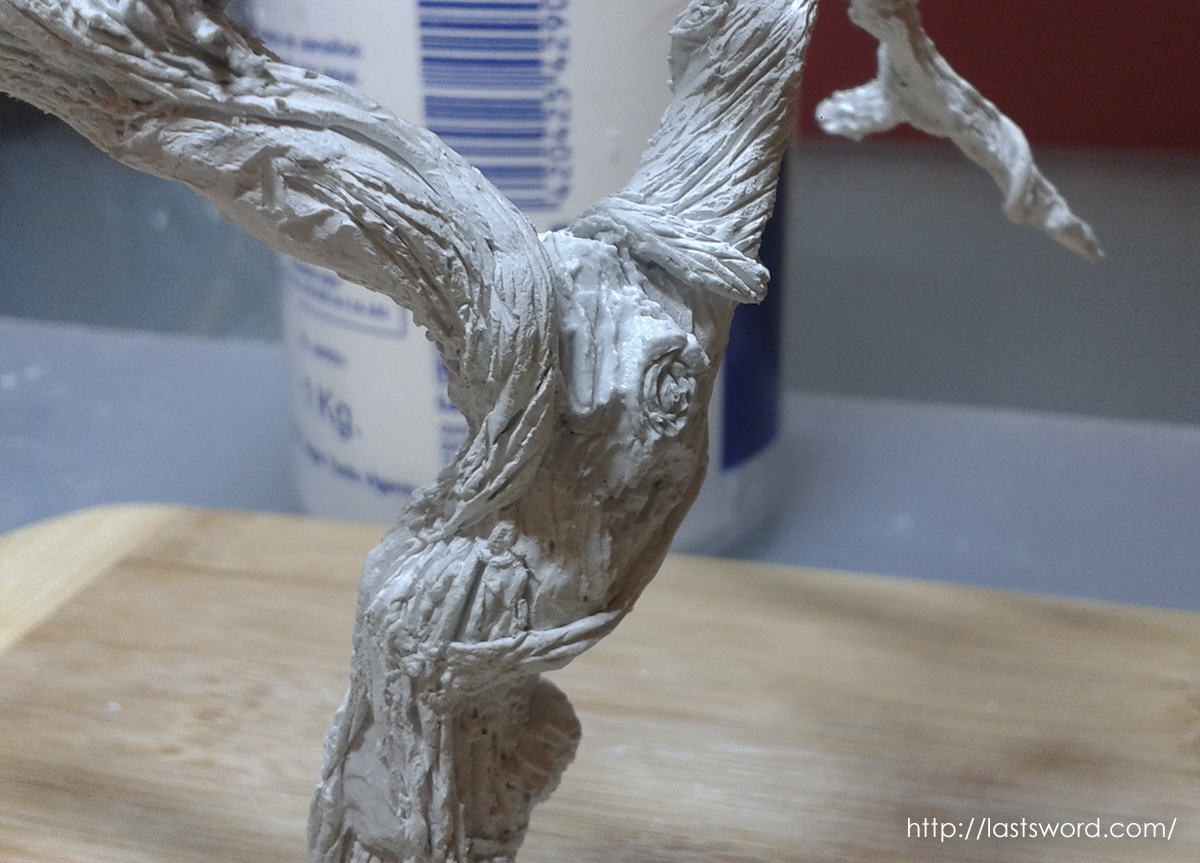
We add three kinds in our trees:
Bulges: easy to sculpt. Just take clay, do a ball and push agains the trunk. Take your molde tool and sculpt lines.
Holes: we did holes in the trunk.
Details: everything that you can imagine, we add extra texture all along the trunk.
The trees are ready, just need be painted before use them to play 1650 A capa y espada, Mordheim (Empire in flames) and Warhammer Fantasy.
We hope that you enjoy with our way to sculpt trees.
